
Floor plans in Ekahau Pro designs are strictly 2D. Tri-dimensional features can be added using wall height, AP height and ceiling height in a building artifact, which is basically a stack of floor plans scaled and aligned vertically. In a building, the hole in floor is a powerful tool to render complex features such as balconies, staggered floors, stairwells, courtyards and shafts. Despite all this 3D features, floor plans are strictly horizontal, and cannot represent inclined surfaces, slopes or stadium tiers.
I had to design wi-fi for a small lecture hall recently, and thought I could have some fun stretching Ekahau 3D concepts to the limit and learning something new.
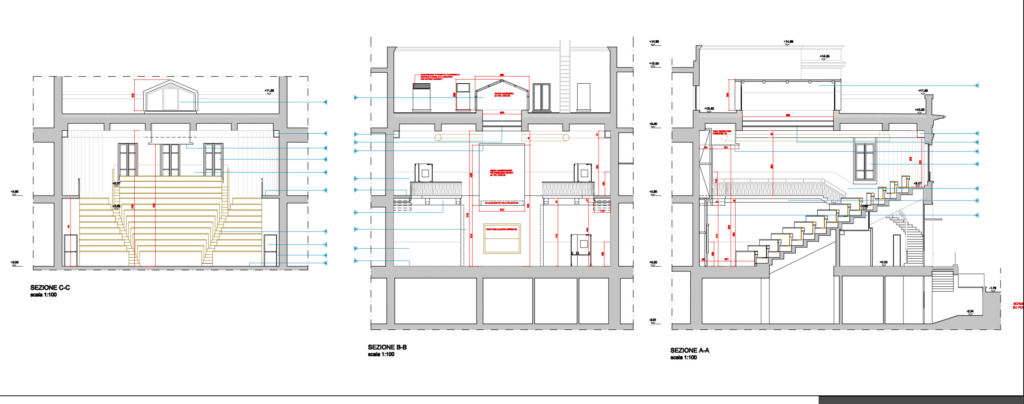
The lecture hall was built in the 1920s with a steep auditorium design that enabled attendees to hear and see the podium without any audio/video technology, even from the farthest seat. It has 13 rows of seats on a stepped floor, each step 40cm high.
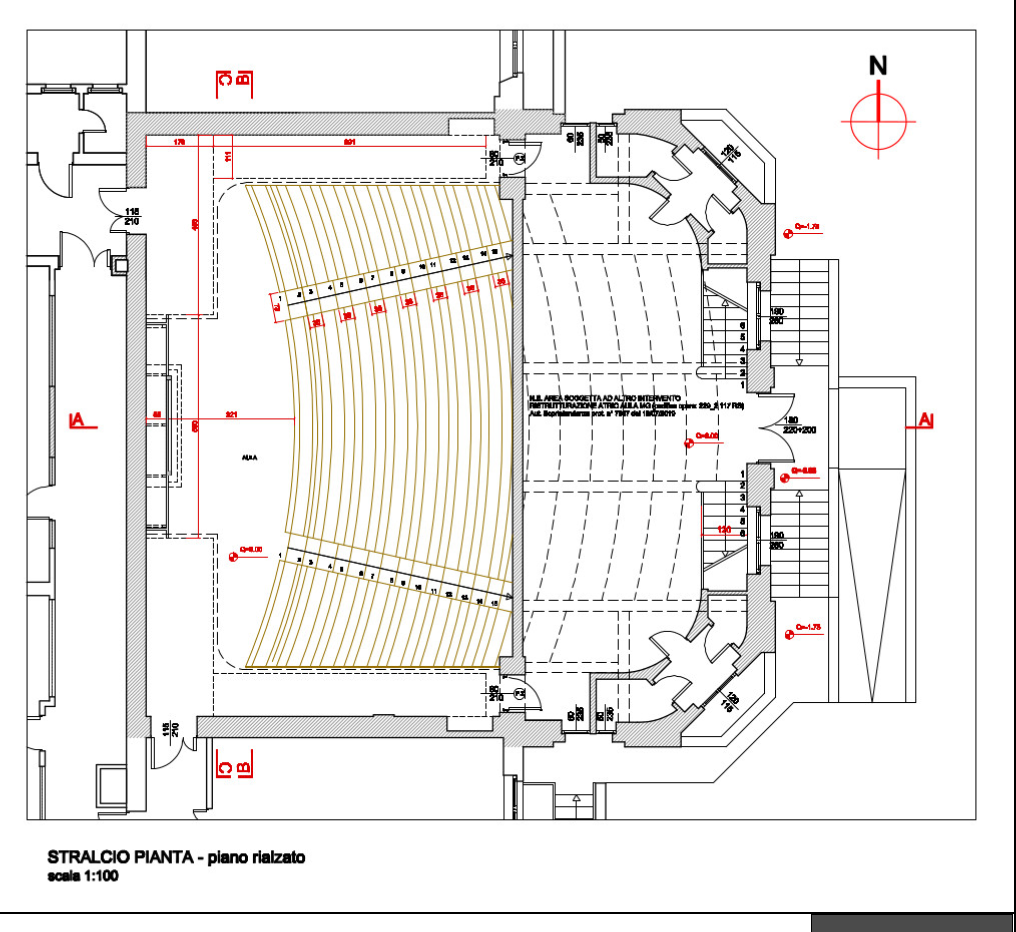
ground floor 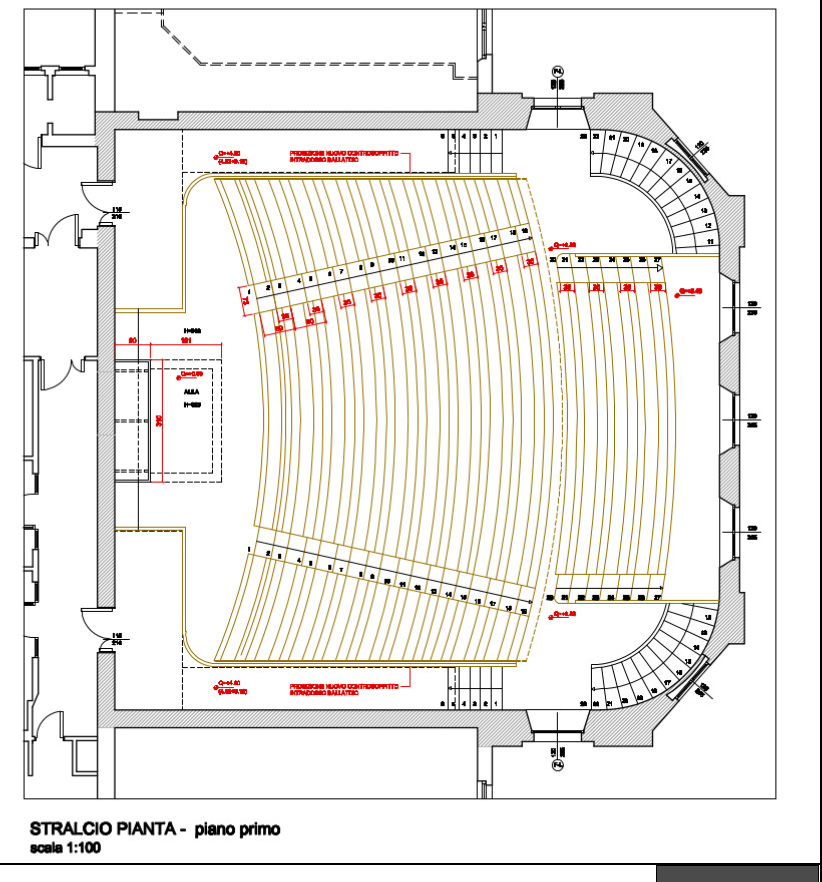
first floor view
To simulate the stepped floor I planned a building with 14 identical floor plans (one for each seat row), each floor with 40 cm ceiling height. Using holes in floor I then planned to cut out every floor leaving only the step area, and placing a 40 cm high wall on the step rise.
Lesson learned 1: the minimum ceiling height in Ekahau Pro is 1m. I had to simplify the design by grouping the steps and reducing the building from 14 to 7 floors.
Using the hole in floor tool I cut out the floors, placed a custom 1m high wall to simulate the step rise, and added areas and attenuation areas on the active surfaces on each level.
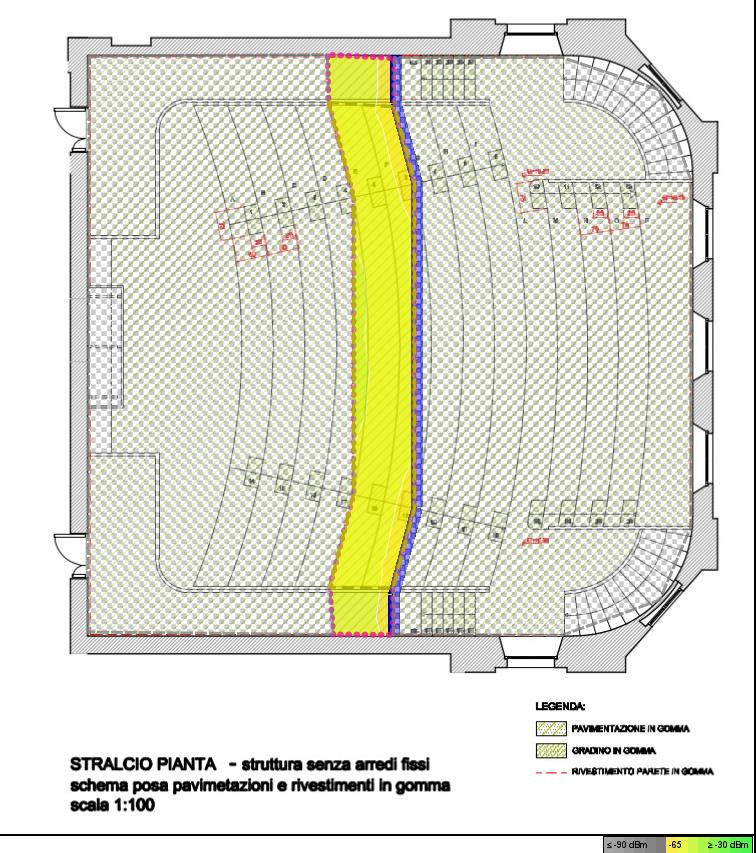
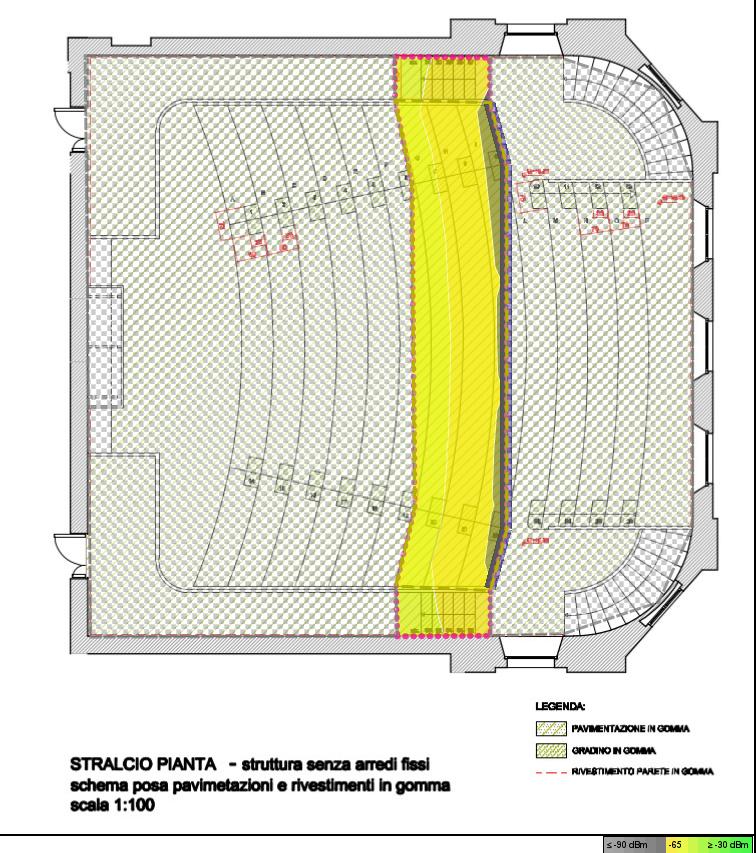
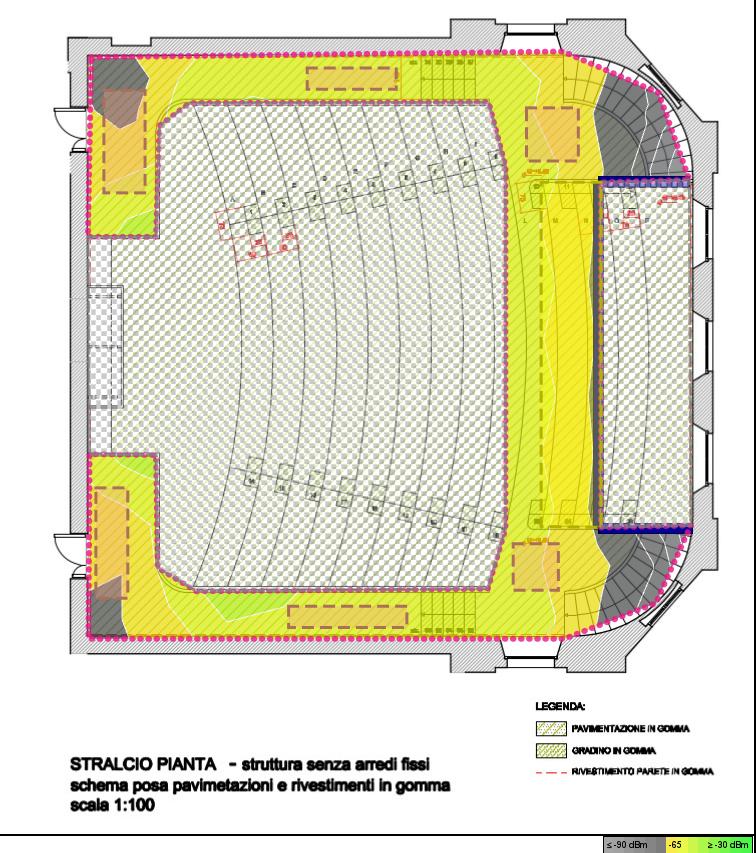
ground floor 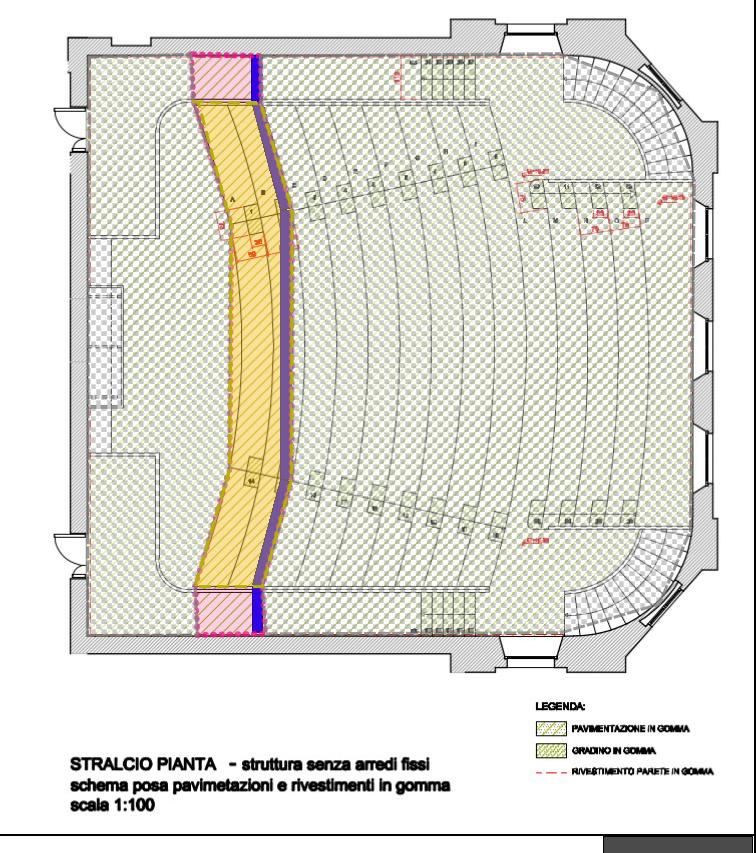
steps 1-2 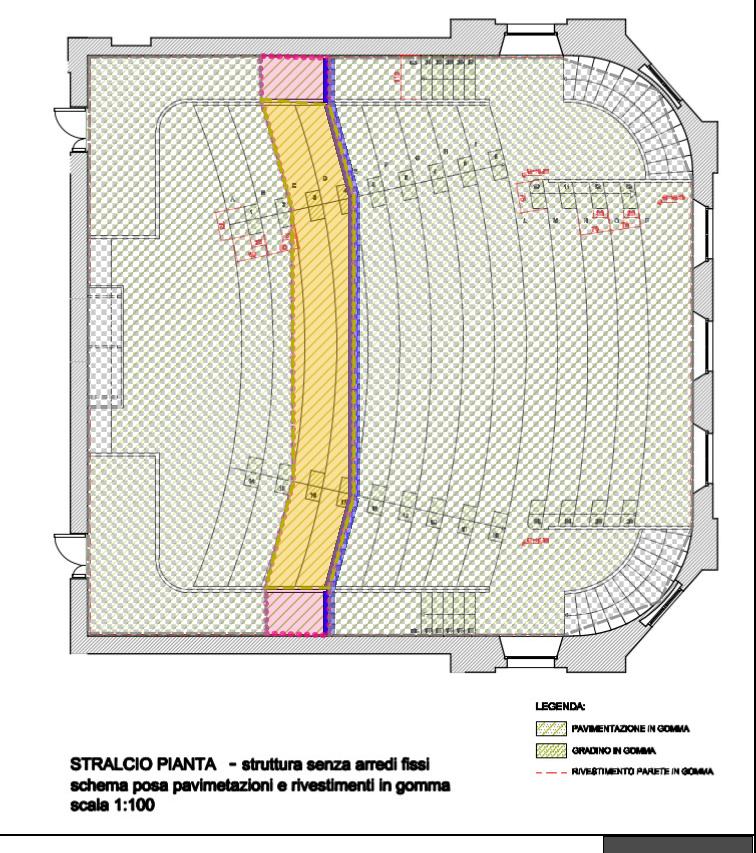
steps 3-4 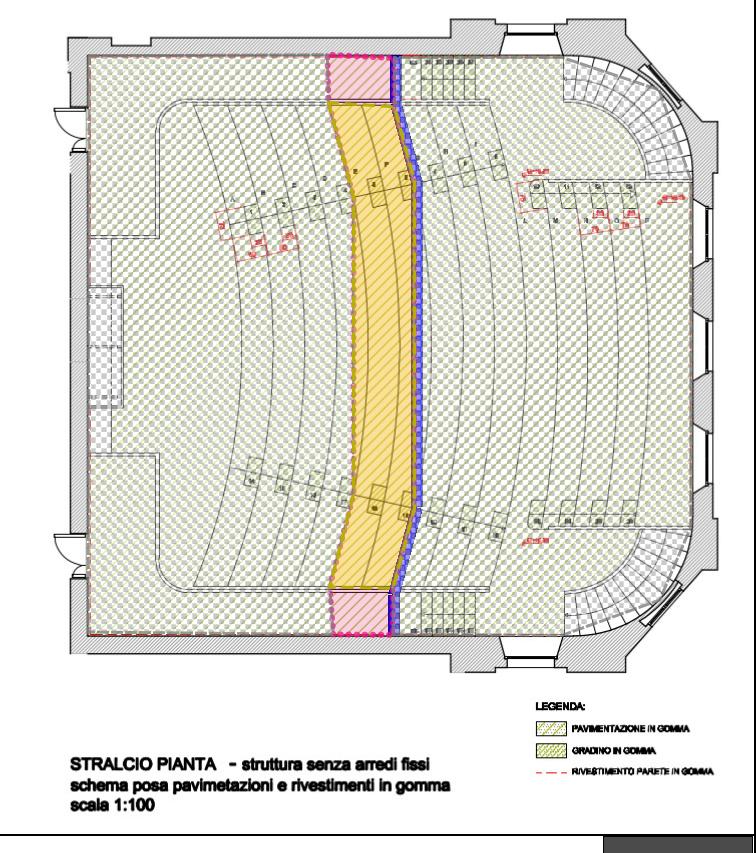
steps 5-6 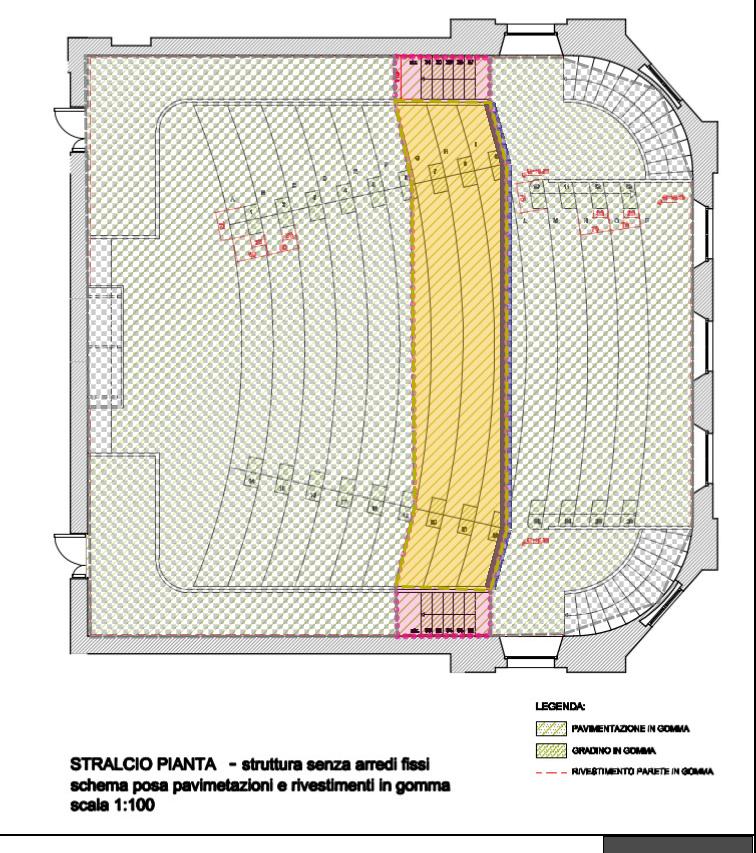
steps 7-8-9 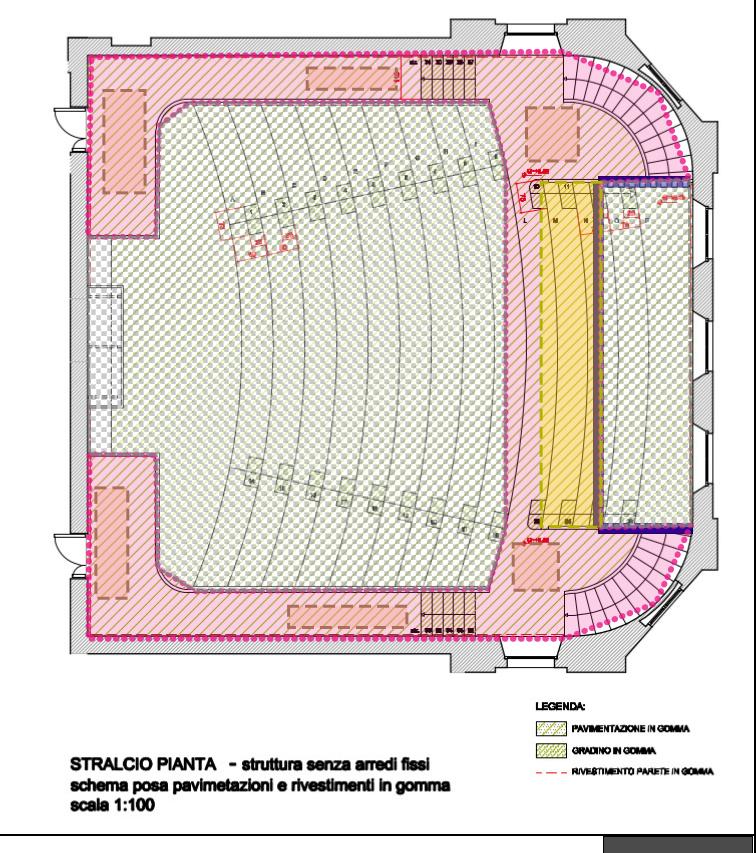
steps 10-11-12
I placed a simulated AP in floor 1 at 4m height and displayed the signal strength at every seat row. Lesson learned 2: even if the ceiling is 1m, the software allows placing an AP higher, regardless of floors above.
At first, the predictive design did not display the RF signal on the all the floors. Lesson learned 3: enable Signal prediction: all floors on the Options button. Please also note that the default visualization height is 1m from the floor, this can be customized with Ctrl+Options.
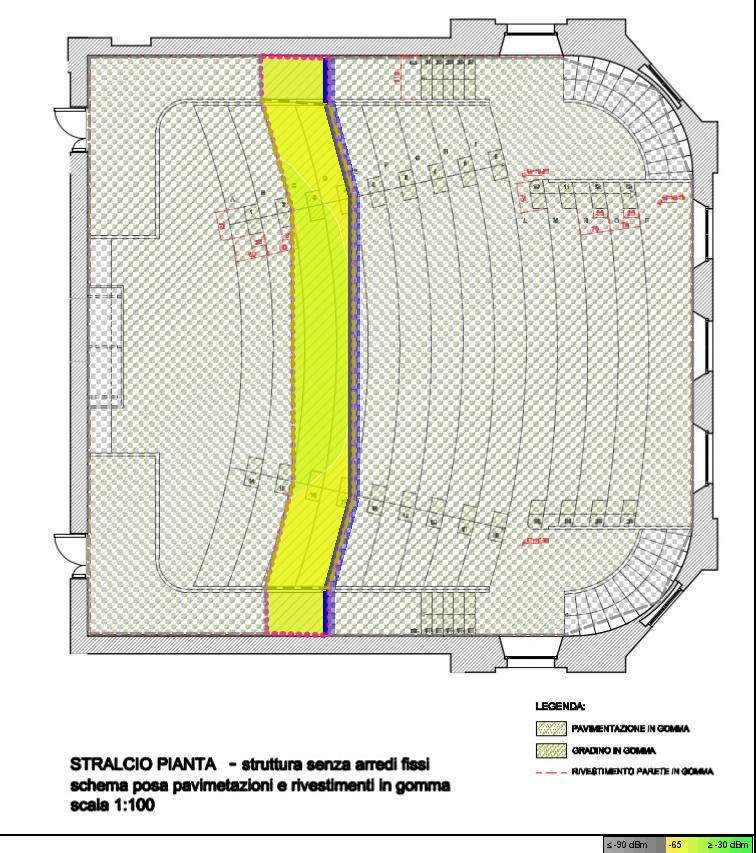
Playing with the AP position and height allows to explore the different attenuation effects in 3D space. It is an approximation to the real shape of the hall, and of the RF attenuation effects, as good as the Ekahau software goes.
Here is an example of predictive signal strength in 5Ghz, where the attenuation from areas, floors and walls is clearly visible. Besides signal strength, all the usual visualizations are possible; my other favorites are Capacity and Health.
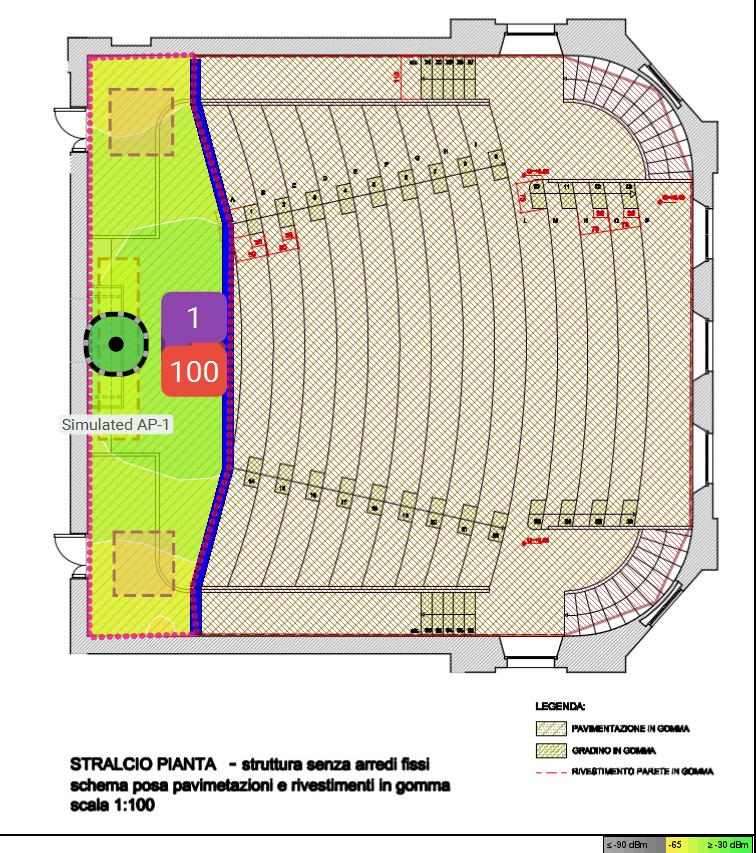
AP at 4m 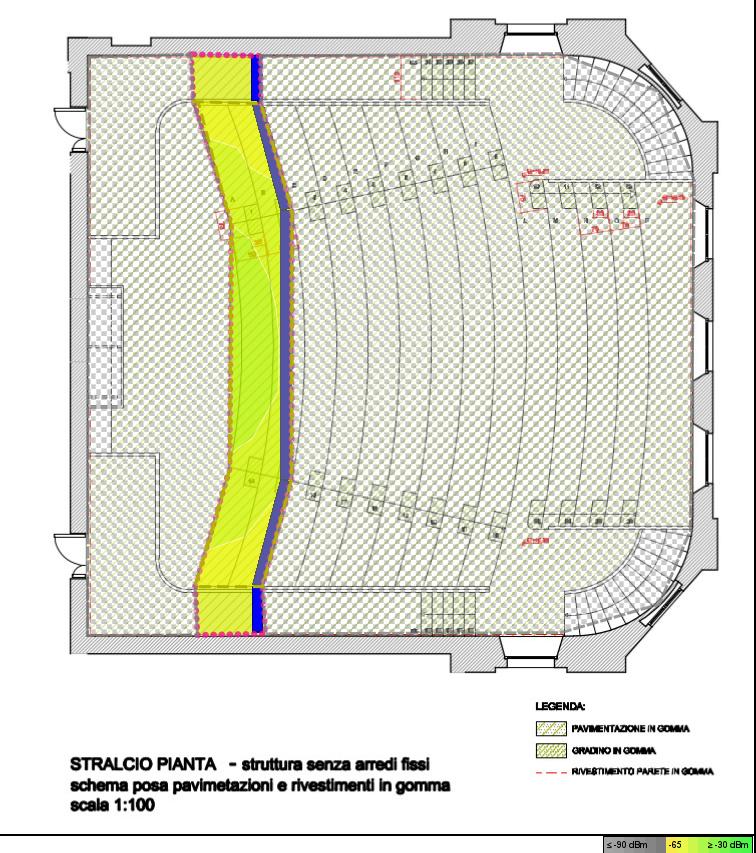
This technique is fun, but unless there are very specific requirements in designated areas, this kind of auditorium design is an overkill in real life. During surveys, this design would force switching floor plan every few meters. Viewing survey data would also be unpractical.
A much simpler solution was suggested by Ferney Muñoz during the 17a Sesión de Tes@s en Wi-Fi when I gave a small presentation: if the APs are placed on the ceiling at the same height and the auditorium seat rows are stepped, just reduce the AP height accordingly from front to back. In other words, simulate an inclined floor using the APs instead of the floors.
Conclusion:
- The floor plan sandwich technique is fun and provides detailed simulation of complex building artifacts…
- …but it’s probably terrible for surveys.
- The software limits the minimum ceiling height to 1m.
- Simulated APs can be placed at any height, regardless of upper floors.
- RF signal prediction is done at 1m height from the floor, customizable.
- Enable signal prediction to all floors in order to see how an AP impacts the whole 3D model.
Legal note: Ekahau and Ekahau Pro are registered trademarks of Ekahau OY.
2 replies on “Fun with Ekahau 3D design”
Hi Jan, i just scrolled your blog over but found it extremely interesant. Definitely need to carefully read. A lot of interesting pointa. I see you’re using Extreme gear. I’ve to deal with it, so I write you later on. Keep writing and keep commenting on Twitter.
You are welcome!